Recently, I helped a friend rebuild their blog, DataverseChronicles, with a completely new architecture. The goal was simple: write posts in Notion and have them automatically published to a blazing-fast static site. Here’s how we built it.
Why This Stack?
After running several blogs over the years, my friend wanted something that combined:
- Easy content management - Notion’s interface is unbeatable for writing
- Fast performance - Static site generation with Astro
- Zero cost hosting - Cloudflare Pages free tier
- Full control - No vendor lock-in, all code is mine
The result? A blog that loads in milliseconds, costs nothing to run, and lets them focus on writing instead of fighting with CMSs.
Architecture Overview
The system has four main components:
- Notion Database - Acts as the headless CMS
- Astro Static Site - Generates the blog from markdown
- Cloudflare Pages - Hosts and deploys the site
- Deployment System - One-click deploy from a secure panel
Setting Up Notion as a CMS
First, we created a Notion database with these properties:
- Title (Title) - The post title
- Description (Text) - Post excerpt
- Date (Date) - Publication date
- Published (Checkbox) - Controls visibility
- Tags (Multi-select) - Post categorisation
- Featured (Checkbox) - Highlights important posts
Then, I created a Notion integration to access the database programmatically:
- Go to notion.so/my-integrations
- Create a new integration
- Copy the API key
- Share your database with the integration
The Content Generation Script
The heart of the system is a script that fetches posts from Notion and converts them to markdown files. Here’s the core structure:
// src/scripts/generate-posts.ts
import { Client } from "@notionhq/client";
import { NotionToMarkdown } from "notion-to-md";
import sharp from "sharp";
import dotenv from "dotenv";

dotenv.config();

const notion = new Client({ auth: process.env.NOTION_API_KEY });
const n2m = new NotionToMarkdown({ notionClient: notion });

async function getAllPosts() {
  const database_id = process.env.NOTION_DATABASE_ID!;

  const response = await notion.databases.query({
    database_id,
    filter: {
      property: "Published",
      checkbox: { equals: true }
    },
    sorts: [
      {
        property: "Date",
        direction: "descending"
      }
    ]
  });

  return response.results;
}
Key Dependencies
I’m using specific versions that work well together:
{
  "@notionhq/client": "^3.1.3",
  "notion-to-md": "^3.1.9",
  "sharp": "^0.34.5",
}Important: We had to use @notionhq/client v3.1.3 instead of the latest v5.x because v5 has breaking API changes where databases.query doesn’t exist. The v3 API is more stable for this use case.

Handling Images: The Critical Part
One of the biggest challenges was handling images. Notion’s image URLs are temporary - they expire after about an hour. This is a problem for static sites that might not rebuild for days.
The Solution: Download and Optimise
Instead of using Notion’s URLs directly, we download all images during the build process and optimise them using Sharp:
async function downloadCoverImage(imageUrl: string, slug: string): Promise<string> {
  const response = await fetch(imageUrl);
  const buffer = Buffer.from(await response.arrayBuffer());

  const coverDir = path.join(process.cwd(), "public", "assets", "covers");
  await fs.mkdir(coverDir, { recursive: true });

  const outputPath = path.join(coverDir, `${slug}.jpg`);

  // Optimize with Sharp: max 1600px width, 85% quality
  await sharp(buffer)
    .resize(1600, null, {
      withoutEnlargement: true,
      fit: "inside"
    })
    .jpeg({ quality: 85 })
    .toFile(outputPath);

  return `/assets/covers/${slug}.jpg`;
}
This approach:
- Downloads images from Notion
- Resizes them to max 1600px width (responsive-friendly)
- Compresses as JPEG at 85% quality (good balance of size/quality)
- Saves to
public/assets/covers/for cover images - Processes embedded post images to
public/assets/posts/{slug}/
The result? Images load fast, never expire, and are optimised for web delivery.
Processing Embedded Images
For images within the post content:
async function processPostImages(markdown: string, slug: string): Promise<string> {
  const imageRegex = /!\\[.*?\\]\\((https:\\/\\/.*?)\\)/g;
  const images = [...markdown.matchAll(imageRegex)];

  const postImagesDir = path.join(process.cwd(), "public", "assets", "posts", slug);
  await fs.mkdir(postImagesDir, { recursive: true });

  let processedMarkdown = markdown;

  for (let i = 0; i < images.length; i++) {
    const [fullMatch, imageUrl] = images[i];
    const response = await fetch(imageUrl);
    const buffer = Buffer.from(await response.arrayBuffer());

    const filename = `image-${i + 1}.jpg`;
    const outputPath = path.join(postImagesDir, filename);

    await sharp(buffer)
      .resize(1600, null, { withoutEnlargement: true, fit: "inside" })
      .jpeg({ quality: 85 })
      .toFile(outputPath);

    const newImageUrl = `/assets/posts/${slug}/${filename}`;
    processedMarkdown = processedMarkdown.replace(imageUrl, newImageUrl);
  }

  return processedMarkdown;
}
This scans the markdown for image URLs, downloads each one, optimises it, and replaces the Notion URL with a local path.
Generating Markdown Files
Once I have the post data and processed images, we generate markdown files that Astro’s content collections can read:
async function generatePostFile(post: any, markdown: string) {
const title = post.properties.Title.title[0]?.plain_text || "Untitled";
const slug = slugify(title);
// Process cover image
const coverUrl = post.properties.Cover?.files?.[0]?.file?.url;
const localCoverUrl = coverUrl
? await downloadCoverImage(coverUrl, slug)
: null;
// Process embedded images
const processedMarkdown = await processPostImages(markdown, slug);
// Generate frontmatter
const frontmatter = {
title,
description: post.properties.Description?.rich_text?.[0]?.plain_text || "",
pubDate: new Date(post.properties.Date.date.start),
tags: post.properties.Tags?.multi_select?.map(t => t.name) || [],
image: localCoverUrl ? { url: localCoverUrl, alt: title } : undefined
};
const fileContent = `---
${Object.entries(frontmatter)
.map(([key, value]) => `${key}: ${JSON.stringify(value)}`)
.join('\\n')}
---
${processedMarkdown}
`;
const filePath = path.join(process.cwd(), "src", "content", "blogs", `${slug}.md`);
await fs.writeFile(filePath, fileContent, "utf-8");
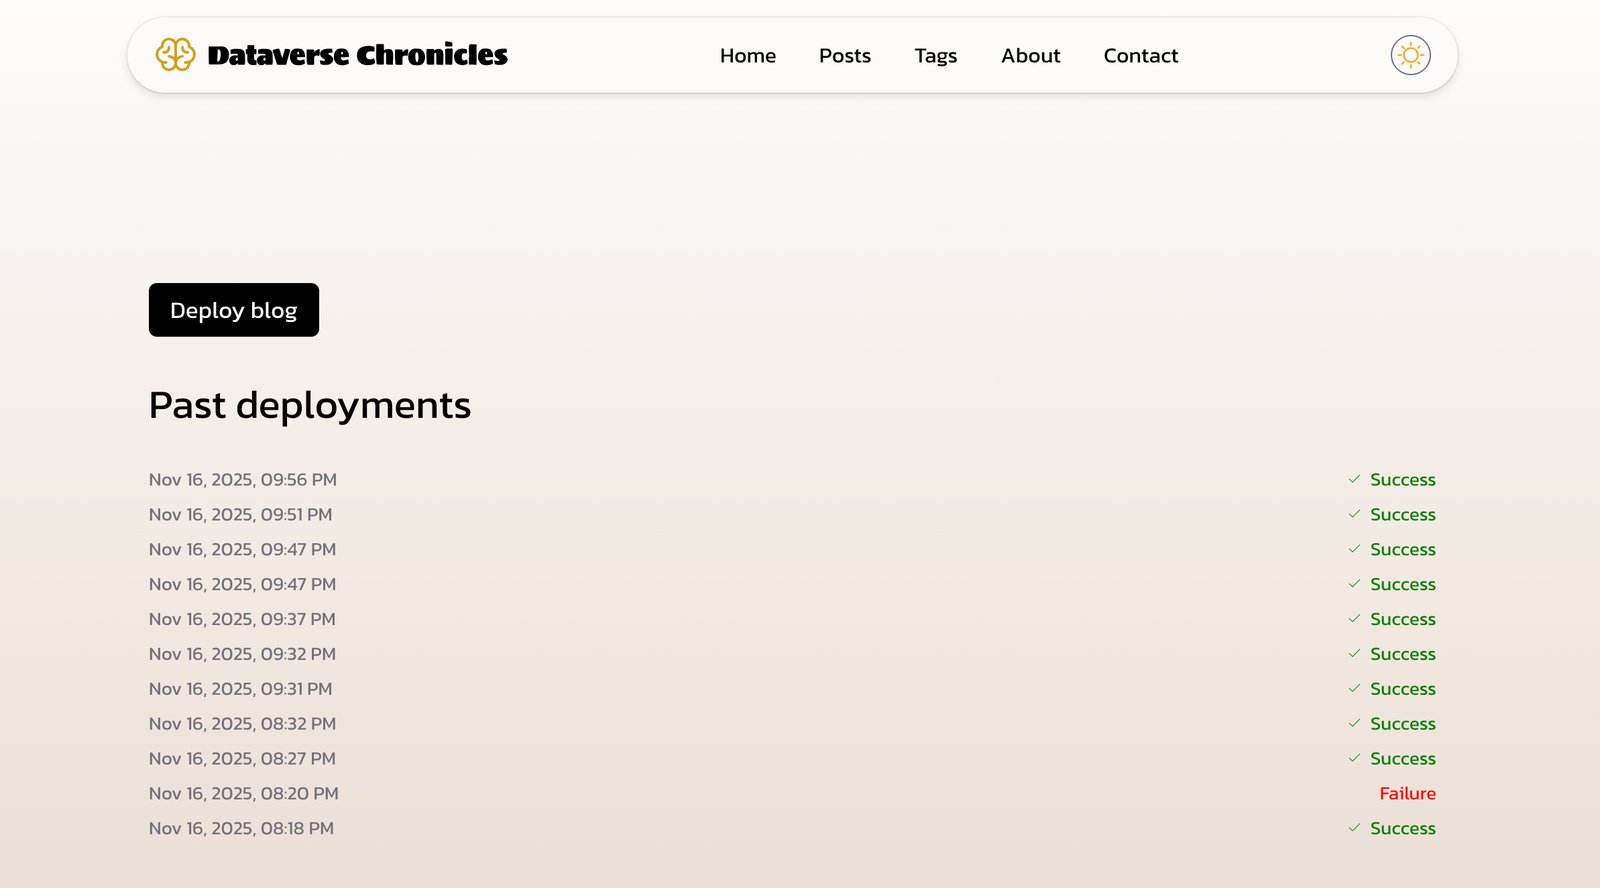
}The Deploy Page: One-Click Publishing
Here’s where it gets interesting. We built a password-protected deployment panel that triggers Cloudflare Pages builds on demand.
Frontend: Preact Component
I used Preact (lightweight React alternative) for the UI:
// src/components/CloudflareDeployment.tsx
import { useEffect, useState } from "preact/hooks";
import type { JSX } from "preact";

export const CloudflareDeployment = ({ deployPanelPassword }: { deployPanelPassword: string }) => {
  const [loggedIn, setLoggedIn] = useState<boolean>();
  const [deploymentLoading, setDeploymentLoading] = useState(false);
  const [currentDeploymentId, setCurrentDeploymentId] = useState<string>();

  const handleDeployBlog = async () => {
    setDeploymentLoading(true);
    const response = await fetch(DEPLOYMENTS_URL, { method: "POST" });
    const result = await response.json();
    setCurrentDeploymentId(result?.result?.id);
  };

  // Poll deployment status every 2 seconds
  useEffect(() => {
    if (!currentDeploymentId) return;

    const interval = setInterval(async () => {
      const result = await checkDeploymentStatus();

      if (result?.latest_stage?.name === "deploy" &&
          (result?.latest_stage?.status === "success" ||
           result?.latest_stage?.status === "failure")) {
        clearInterval(interval);
        setDeploymentLoading(false);
      }
    }, 2000);

    return () => clearInterval(interval);
  }, [currentDeploymentId]);

  return (
    <article>
      <button onClick={handleDeployBlog}>
        {deploymentLoading ? "Deploying ..." : "Deploy blog"}
      </button>
      {/* Status UI */}
    </article>
  );
};
Backend: Cloudflare Worker
The magic happens in a Cloudflare Worker that proxies requests to the Cloudflare Pages API:
// Deployed as a Cloudflare Worker
const BLOG_PROJECT_NAME = "dataversechronicles";
const CF_ACCOUNT_ID = "YOUR_ACCOUNT_ID";
const DEPLOYMENTS_URL = `https://api.cloudflare.com/client/v4/accounts/${CF_ACCOUNT_ID}/pages/projects/${BLOG_PROJECT_NAME}/deployments`;

export default {
  async fetch(request, env) {
    const CORS_HEADERS = {
      "Access-Control-Allow-Origin": request.headers.get("Origin"),
      "Access-Control-Allow-Methods": "GET, POST, OPTIONS",
      "Access-Control-Allow-Headers": "*",
    };

    // Trigger new deployment
    if (request.method === "POST") {
      const response = await fetch(DEPLOYMENTS_URL, {
        method: "POST",
        headers: {
          Authorization: `Bearer ${env.CF_API_KEY}`,
        },
      });

      const result = await response.json();
      return new Response(JSON.stringify(result), {
        headers: { "Content-Type": "application/json", ...CORS_HEADERS },
      });
    }

    // Check deployment status
    if (request.method === "GET") {
      const url = new URL(request.url);
      const deploymentId = url.searchParams.get("id");

      if (deploymentId) {
        const response = await fetch(`${DEPLOYMENTS_URL}/${deploymentId}`, {
          headers: { Authorization: `Bearer ${env.CF_API_KEY}` },
        });

        const result = await response.json();
        const { id, created_on, latest_stage } = result?.result || {};

        return new Response(JSON.stringify({ id, created_on, latest_stage }), {
          headers: { "Content-Type": "application/json", ...CORS_HEADERS },
        });
      }

      // List recent deployments
      const response = await fetch(`${DEPLOYMENTS_URL}?per_page=20`, {
        headers: { Authorization: `Bearer ${env.CF_API_KEY}` },
      });

      const result = await response.json();
      return new Response(JSON.stringify(result.result), {
        headers: { "Content-Type": "application/json", ...CORS_HEADERS },
      });
    }
  },
};
How It Works
- User visits
/deploypage - Enters password (stored in environment variables)
- Clicks “Deploy blog” button
- Frontend sends POST request to Cloudflare Worker
- Worker calls Cloudflare Pages API to trigger deployment
- Frontend polls deployment status every 2 seconds
- Shows real-time progress: Queued → Initializing → Building → Deploying → Success ✅
This means:
- No need to commit/push to trigger builds
- Can deploy from anywhere with just a password
- See deployment status in real-time
- View deployment history
Project Structure
Here’s the final structure:
dataverse-chronicles/
├── src/
│   ├── components/
│   │   ├── CloudflareDeployment.tsx  # Deploy UI
│   │   ├── PostCardPreview.astro     # Post cards
│   │   └── ...
│   ├── pages/
│   │   ├── index.astro               # Homepage
│   │   ├── deploy.astro              # Deploy panel
│   │   ├── posts/
│   │   │   └── [id].astro           # Post template
│   │   └── ...
│   ├── content/
│   │   └── blogs/                    # Generated markdown
│   ├── scripts/
│   │   └── generate-posts.ts         # Notion sync
│   ├── consts/
│   │   └── deployment.ts             # Deploy config
│   └── cf-workers/
│       └── cf-deployments.js         # Worker code
├── public/
│   └── assets/
│       ├── covers/                   # Cover images
│       └── posts/                    # Post images
└── package.json
The Build Process
When deploying, Cloudflare Pages runs:
# 1. Generate posts from Notion
npm run generate-posts

# 2. Build the Astro site
npm run build
The generate-posts script:
- Fetches all published posts from Notion
- Downloads and optimises images
- Converts Notion blocks to markdown
- Generates frontmatter with metadata
- Saves files to
src/content/blogs/
Then Astro builds these markdown files into a static site.
Styling and Design
The blog uses:
- Tailwind CSS 4 - Utility-first styling
- Custom fonts - Sigmar for headings, Kanit for body
- Dark mode - Manual toggle with smooth transitions
- Brain icon - Custom SVG logo in brand yellow
- Responsive design - Mobile-first approach
Key styling features:
- Code blocks with syntax highlighting
- Responsive images with proper aspect ratios
- Reading time calculation (~200 words/min)
- Tag-based navigation
Performance Optimizations
- Image optimisation - Sharp resizing and compression
- Static generation - Astro SSG for instant loads
- Preact over React - 3KB vs 40KB bundle size
- Lazy loading - Images load as needed
- CDN delivery - Cloudflare’s global network
Lessons Learned
1. Notion API Version Matters
The latest @notionhq/client (v5.x) has breaking changes. Stick with v3.1.3 for stability:
npm install @notionhq/[email protected]2. Image Expiration is Real
Never use Notion image URLs directly in production. Always download and host them yourself.
3. Reading Time is Easy
Calculate reading time with a simple function:
function calculateReadingTime(text: string): number {
  const wordsPerMinute = 200;
  const wordCount = text.trim().split(/\\s+/).length;
  return Math.ceil(wordCount / wordsPerMinute);
}
4. Preact is Enough
For simple interactive components, Preact’s 3KB bundle is perfect. We used it for the deployment panel instead of full React.
5. Environment Variables in Cloudflare Pages
Set these in your Cloudflare Pages project settings:
NOTION_API_KEYNOTION_DATABASE_IDDEPLOY_PANEL_PASSWORD
Deployment Workflow
The typical workflow now:
- Write post in Notion
- Check the “Published” checkbox
- Visit
yourdomain.com/deploy - Enter password
- Click “Deploy blog”
- Watch it build in real-time (2-3 minutes)
- Post is live!
No git commits, no command line, no build servers to manage.
Cost Breakdown
- Notion - Free (personal plan)
- Cloudflare Pages - Free (unlimited bandwidth)
- Cloudflare Workers - Free (100k requests/day)
- Domain - ~$10/year (optional)
Total monthly cost: $0 (excluding domain)
Future Improvements
Ideas I’m considering:
- Notion webhooks - Auto-deploy when posts are published
- Draft previews - Preview unpublished posts
- Analytics integration - Track post performance
- Newsletter sync - Auto-send to email subscribers
- Related posts - ML-based recommendations
Conclusion
With GitHub Copilot, building this blog took about 3-4 hours of focused work, but the result is a system that:
- Costs nothing to run
- Loads instantly for readers
- Lets me focus on writing
- Gives me complete control
- Scales automatically
The best part? No more fighting with WordPress, dealing with plugin updates, or worrying about server costs.
If you’re thinking about building a blog, I highly recommend this stack. The initial setup takes effort, but the long-term benefits are worth it.
Resources
Questions? Feel free to reach out at [email protected] or find me on LinkedIn.
Want to see the code? The repository is private, but I’m happy to share specific implementations if you’re building something similar.